Polygel
Polygel is a fantastic product to beautiful and strong create nails. Polygel is one Hybrid between gel and acrylic, making it the strength of acrylic and the flexibility of gel. In this instruction blog we offer you an extra detailed step-by-step manual about how you apply and remove Polygel.
Step 1: nail preparation
When applying Polygel, good preparation of the nails is of great importance. Therefore, treat your nails as you would do when applying gellak. File the nails where necessary with a good nail file, gently push the cuticles back and remove the gloss layer with the file.
Step 2: Apply Base Coat
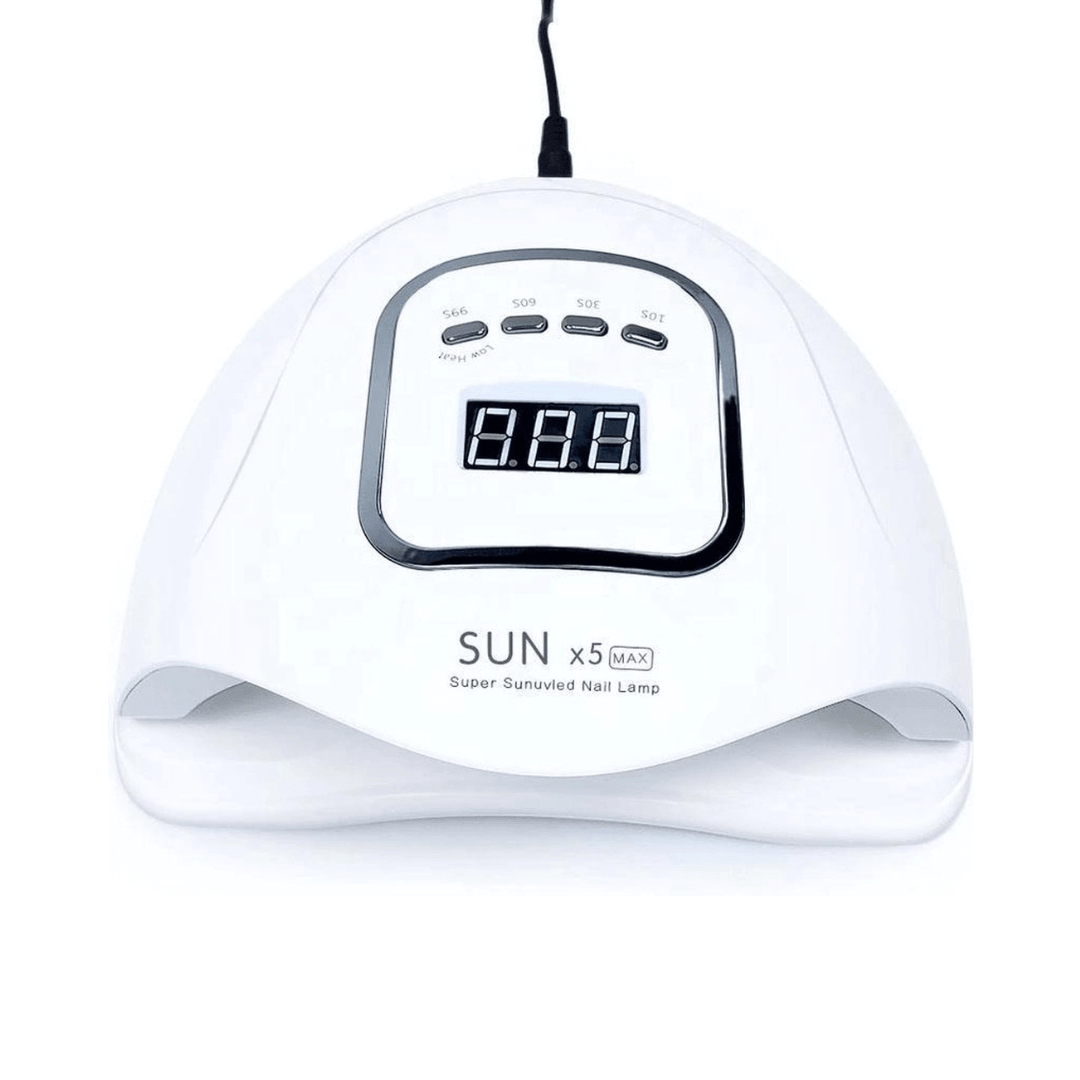
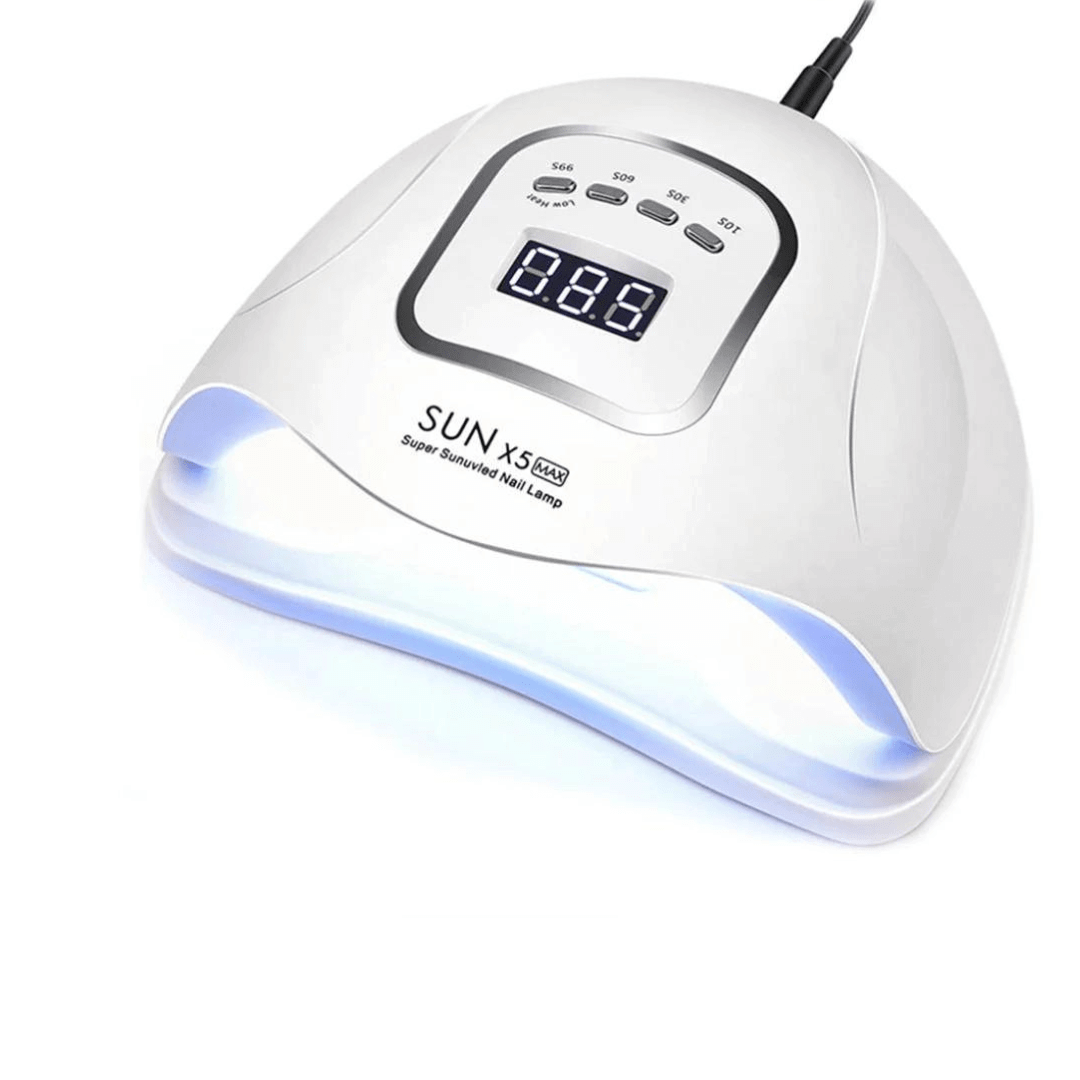
Apply Basecoat - apply a thin layer of base coating to your nails and hard under one LED lamp for 60 seconds. BASE Coating Ensures that the polygel adheres better to your nails.
Step 3/4: Polygel "Sandwichen"
The application of polygel is also called the sandweight technique, because the polygel is between your natural nail and the nail tip like a sandwich. There are 2 methods, but we recommend the following, because you then have a better distribution and the least chance of any bubbles.
Method 1 - See video at the bottom of the page
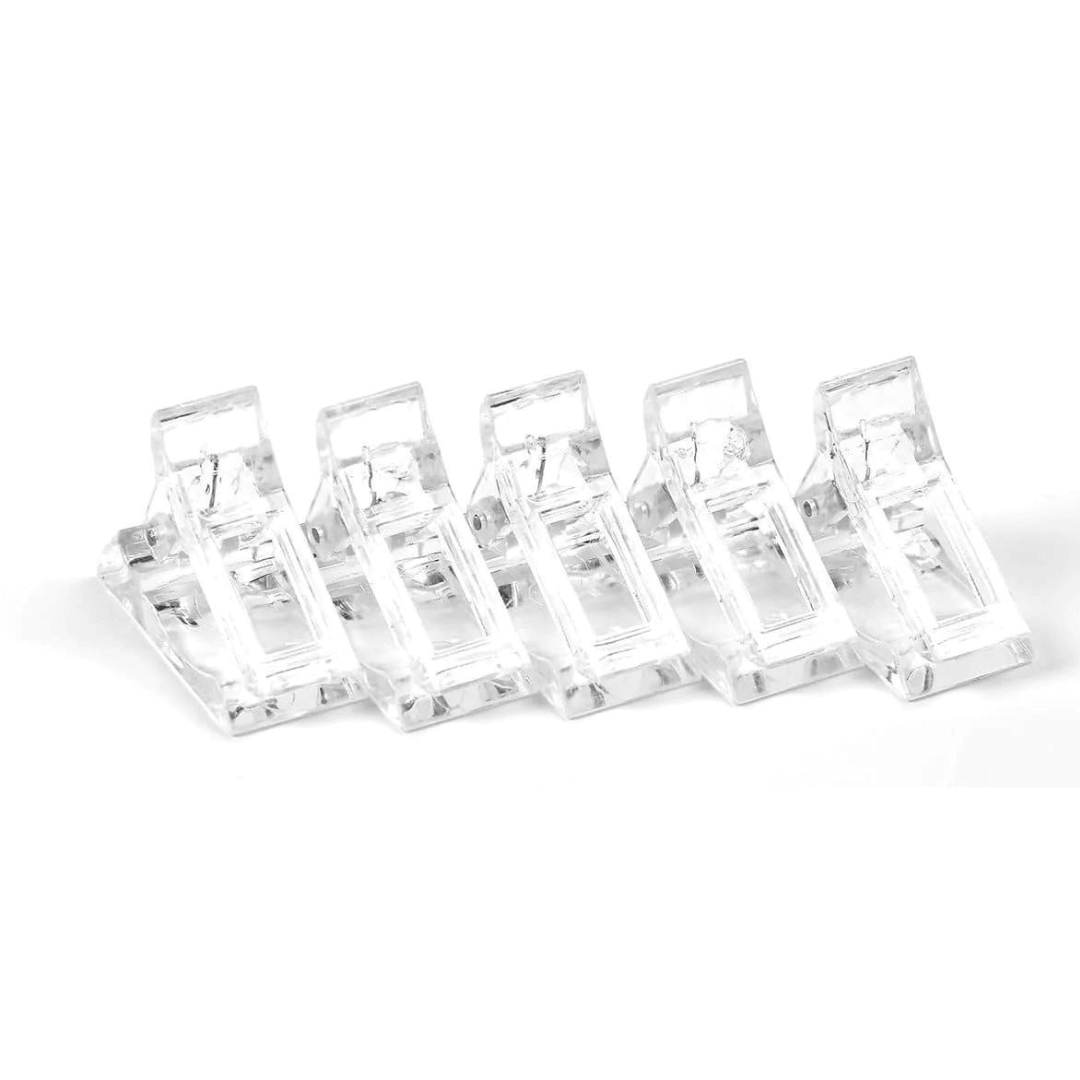
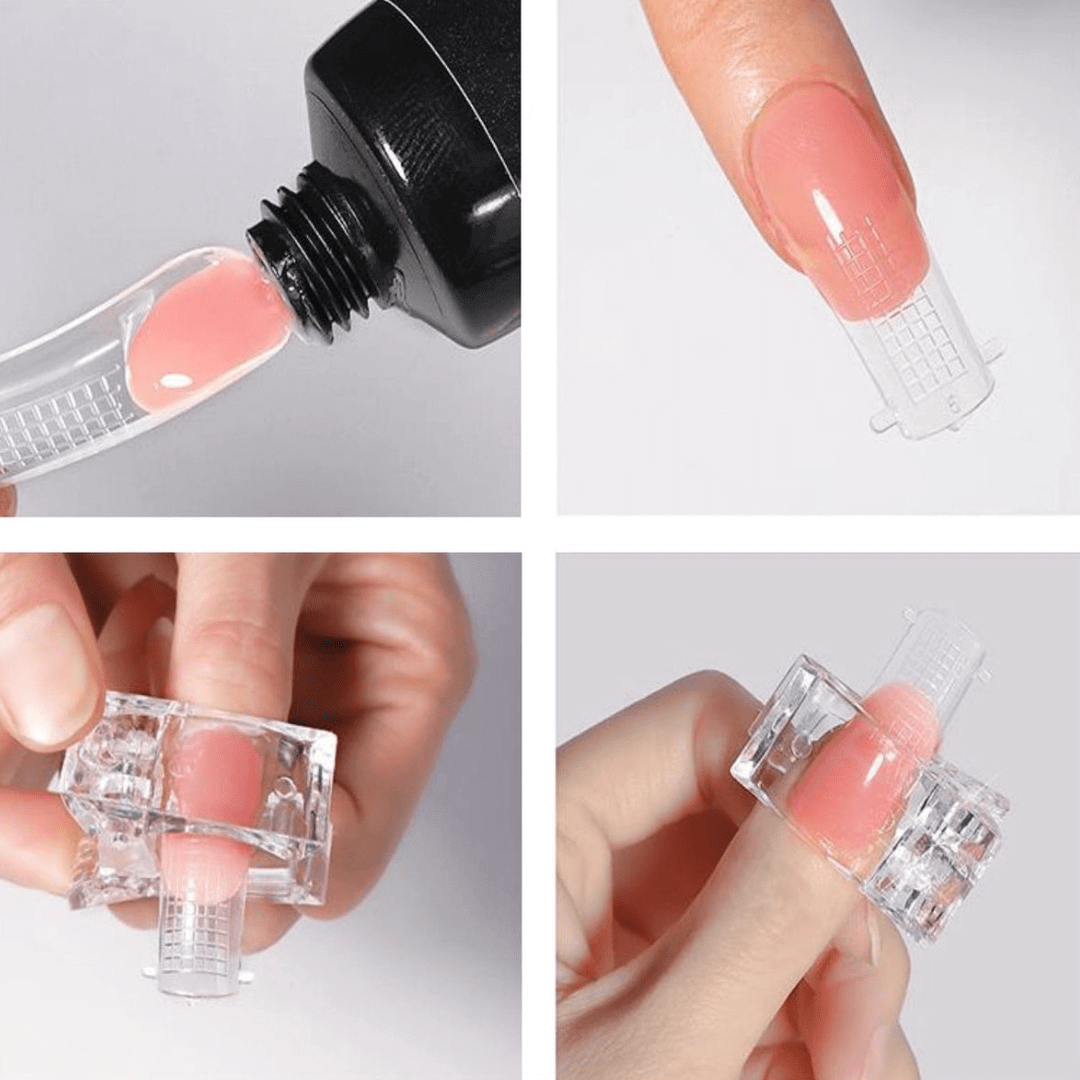
Push a little polygel the size of a peas (depending on your own nail size) from the tube, and press it gently on your nail. Then grab the nails tip and push it evenly over the polygel from the cuticles, so that the polygel shape itself in the length of the nail tip. Now place the free nail clamp on the tip to keep the tip in place.
TIP: Do not push too hard, this allows air to accommodate or push the gel outside the tip on the sides.
Method 2 - See video at the bottom of the page
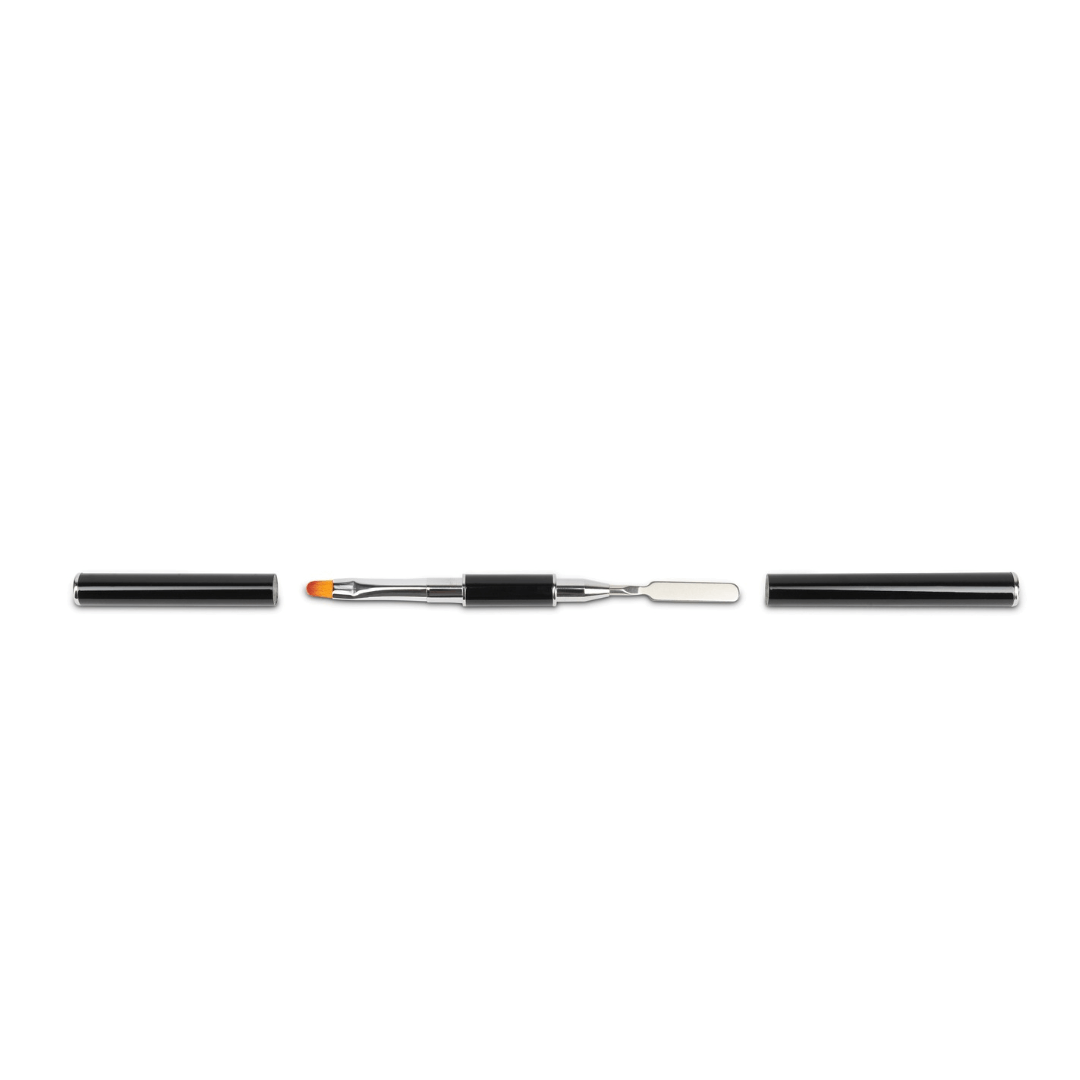
Take a little polygel the size of a peas from the tube and place it in the nail tip. Dip the brush of the multi -tool in the slip Solution and form the polygel to the desired thickness and length. Make sure that you do not apply the polygel too thin/thick and that the polygel on the cuticle side is nice and thin. Then place the nail tip on your nails and push carefully and use the supplied nail clamp to keep the tip nicely in place.
Step 5: Perfect polygel
Now that you have placed the tip, dip the brush in some slip solution and you can remove any excess polygel along the cuticle. You can now also model the gel in the tip until you have reached the desired thickness and length.
Step 6/7: Harden and remove tip
If you are satisfied with the shape of your nails, let the polygel cure under one LED lamp for 60 seconds. Seesaw Then carefully move the nail tip through your nail back and forth. Hard possibly out again without the tip for extra adhesion.
Step 8: Finish
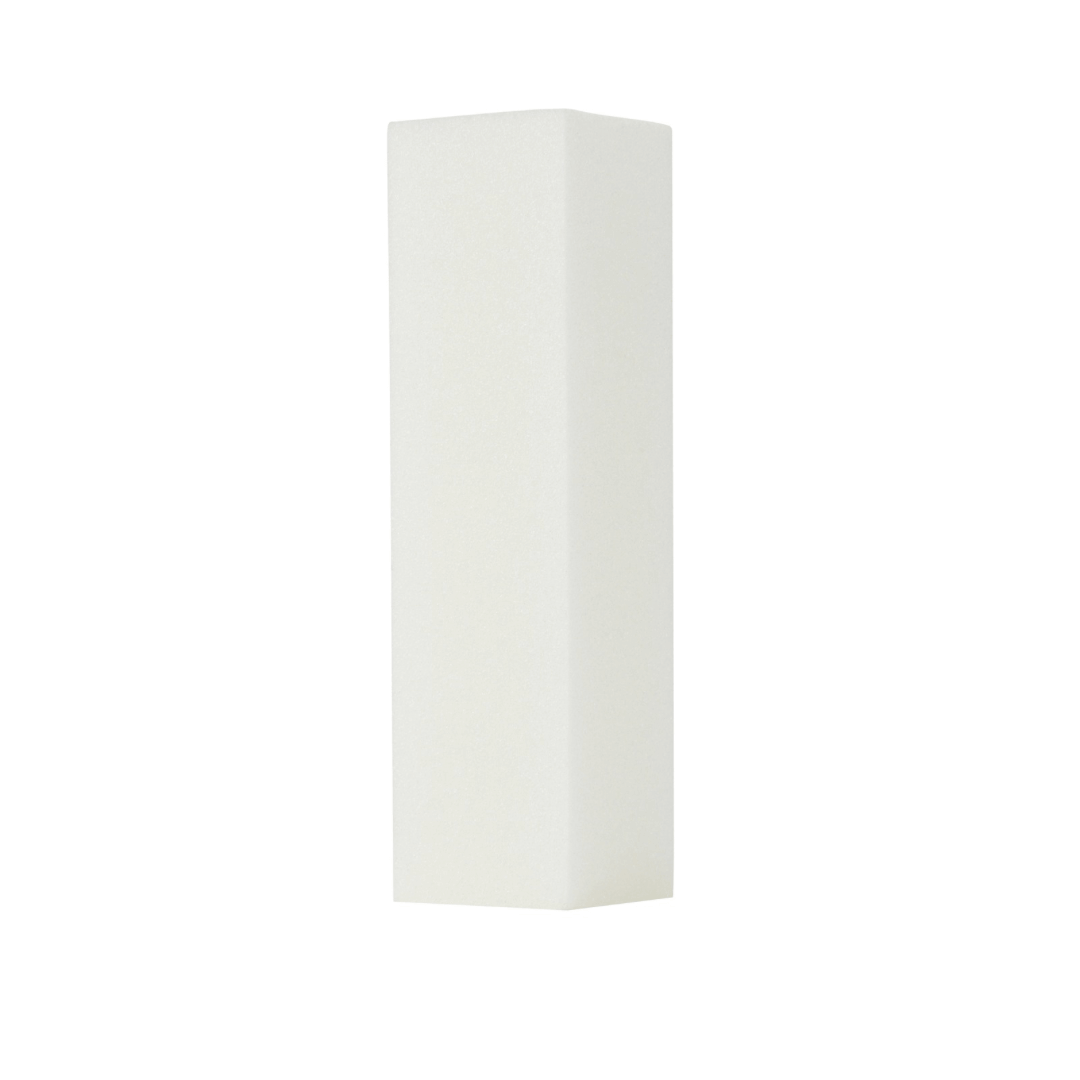
If the polygel has completely cured, you can further perfect the shape of your nails with the file. Filter carefully and gradually 1 side until the desired shape is reached. Do not file too hard to prevent you from damaging the nail. You can possibly buffet the surface with a blockfijl Since a topcoat for shine is applied in the next step.
Step 9: Finishing Touch
Finally, bring a thin layer topcoat To protect your nails and give shine. The top coat must also be cured under the LED lamp.
Save tip: Order a starter set And immediately get all the tools for the perfect manicure! That way you will never need an expensive salon treatment again and you can always easily create your own creations from home!

Polygel Remove
Now that you know how to apply Polygel, it is also important to know how to remove it. Below you will find a step -by -step plan.
Step 1: File the topcoat - use a nail file to remove the topcoat. This allows the acetone to penetrate better in the polygel.
Step 2: Week the Polygel - week a cotton pad in pure aceton and put it on your nail. Wrap your nail in aluminum foil and let it soak for about 10-15 minutes.
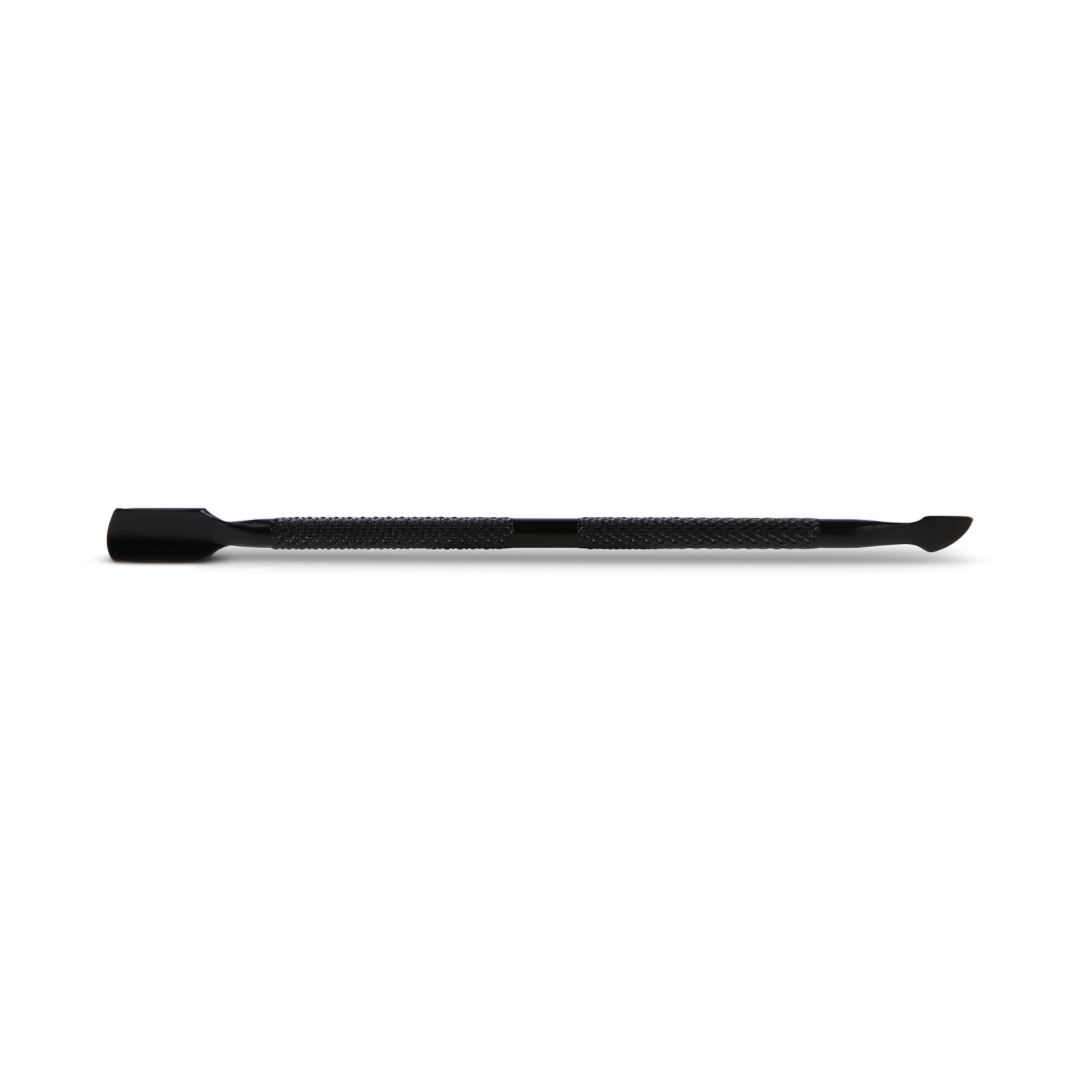
Step 3: Remove the polygel - after 10-15 minutes you can remove the aluminum foil. Use the double -sided nails tool to push the soft polygel of your nails. Be careful and do not push too hard to prevent you from damaging the natural nail.
Step 4: File the nail - file any remnants of the polygel and file your nails in the desired shape.
Apply Vaseline to the cuticles in advance to protect them against the drying effect of the acetone. After the removal process, it is important to take good care of your nails with a rich cuticle oil To keep your nails in top condition.
Ask or want further advice? Feel free to send us a message!
We help you until you are 100% satisfied.